Getting Started
Create a company profile
Create a company profile
After successful registration and login, when using the Kontozz system for the first time, you will need to create a company profile. The system guides the user through three simple steps to record all important company data.
First step
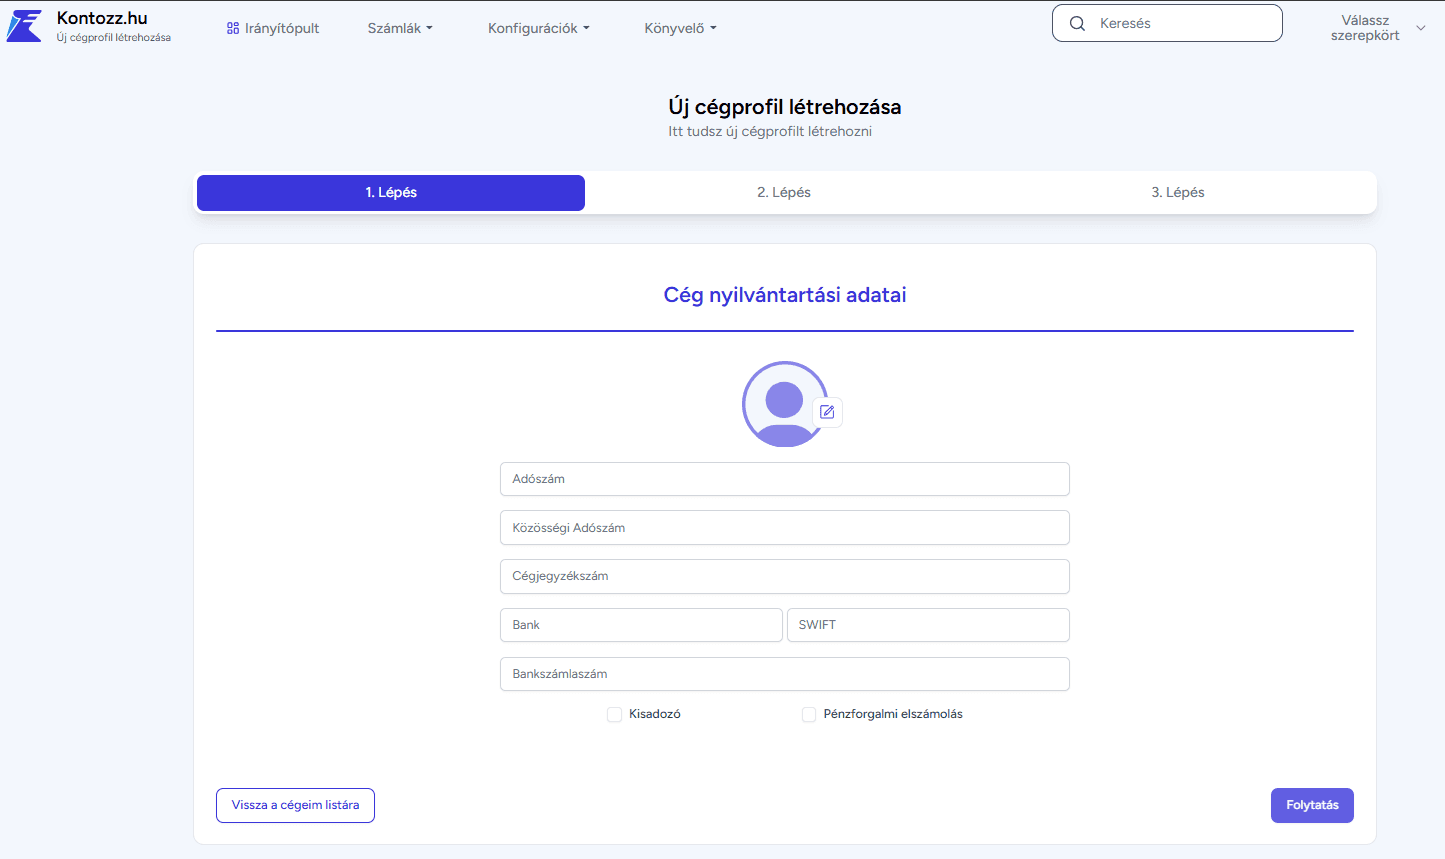
Company registration details.
At this stage, you must provide the official identification details of your business.
Filling in the fields helps the system to accurately identify invoices, reports, and other financial transactions. Fields to be filled in:
Tax number – the company's Hungarian tax number (e.g., 12345678-1-42)
Community tax number – international tax number for EU companies
Company registration number – the official registration ID of the business
Bank and SWIFT code – the name and international identifier of the company's account-holding bank
Bank account number – the company's primary bank account
Once you have entered all the information, click on the "Continue" button in the lower right corner.
Step Two
Company address and contact details.
In the second step, the system requests the company's basic data and contact information.
Required fields:
Company name – the full name of the business as it appears in the register
Type of company – e.g., LLC, partnership, corporation, etc.
Company owner – name of legal representative or owner
Email address – the company's official email address
Phone number – to provide contact details
After filling in the fields, click on the "Continue" button to proceed to the next step. If you want to change something on the previous page, use the "Back" button.
Step Three
Defining the company profile.
In the final stage, you must provide the exact address of the company's registered office.
This information is essential for billing and official documents.
Required fields:
Country – selectable from a drop-down list (default setting is Hungary)
Postal code
City
Address and Street
House number
Floor/door – optional field, if necessary.
Once you have filled in all the fields correctly, click on the "Create company profile" button. The system will then save the data and create your company profile in your account.
Important:
The company profile you have created will only become active and usable once you have confirmed your company registration by clicking on the link in the confirmation email sent by the system. Without confirmation, the company will not appear in the list and the billing functions will not be available.
If everything is in order, the company will be available for invoicing:

Any other questions? Get in touch